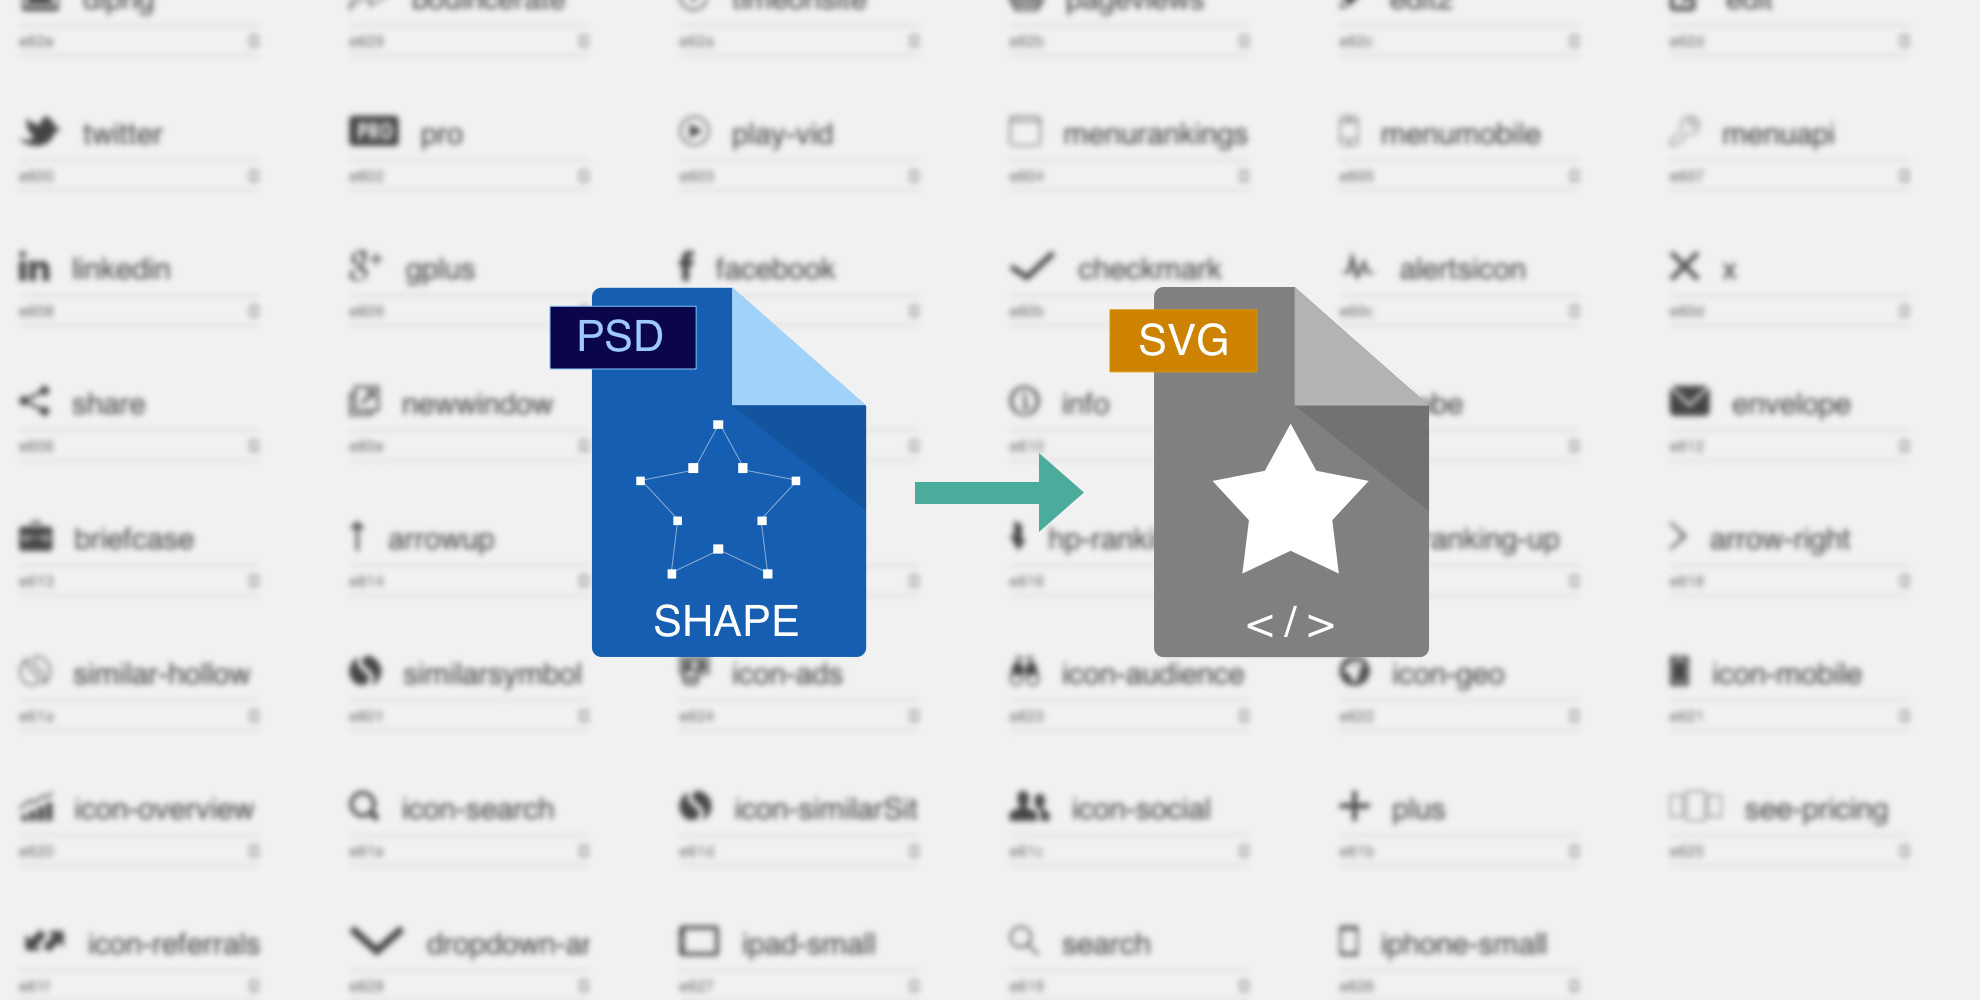
Recently I finished a large redesign project at my company, SimilarWeb. In this project I had to create (and constantly update) an iconfont made out of SVGs that I exported from my Photoshop designs.
In this post I’ll explain how I used the “PSD layers to SVG” script to drastically improve my workflow.
Let’s begin:
When working on a large design project, I like to create a separate PSD containing all the shapes and icons that I want to export as SVGs.
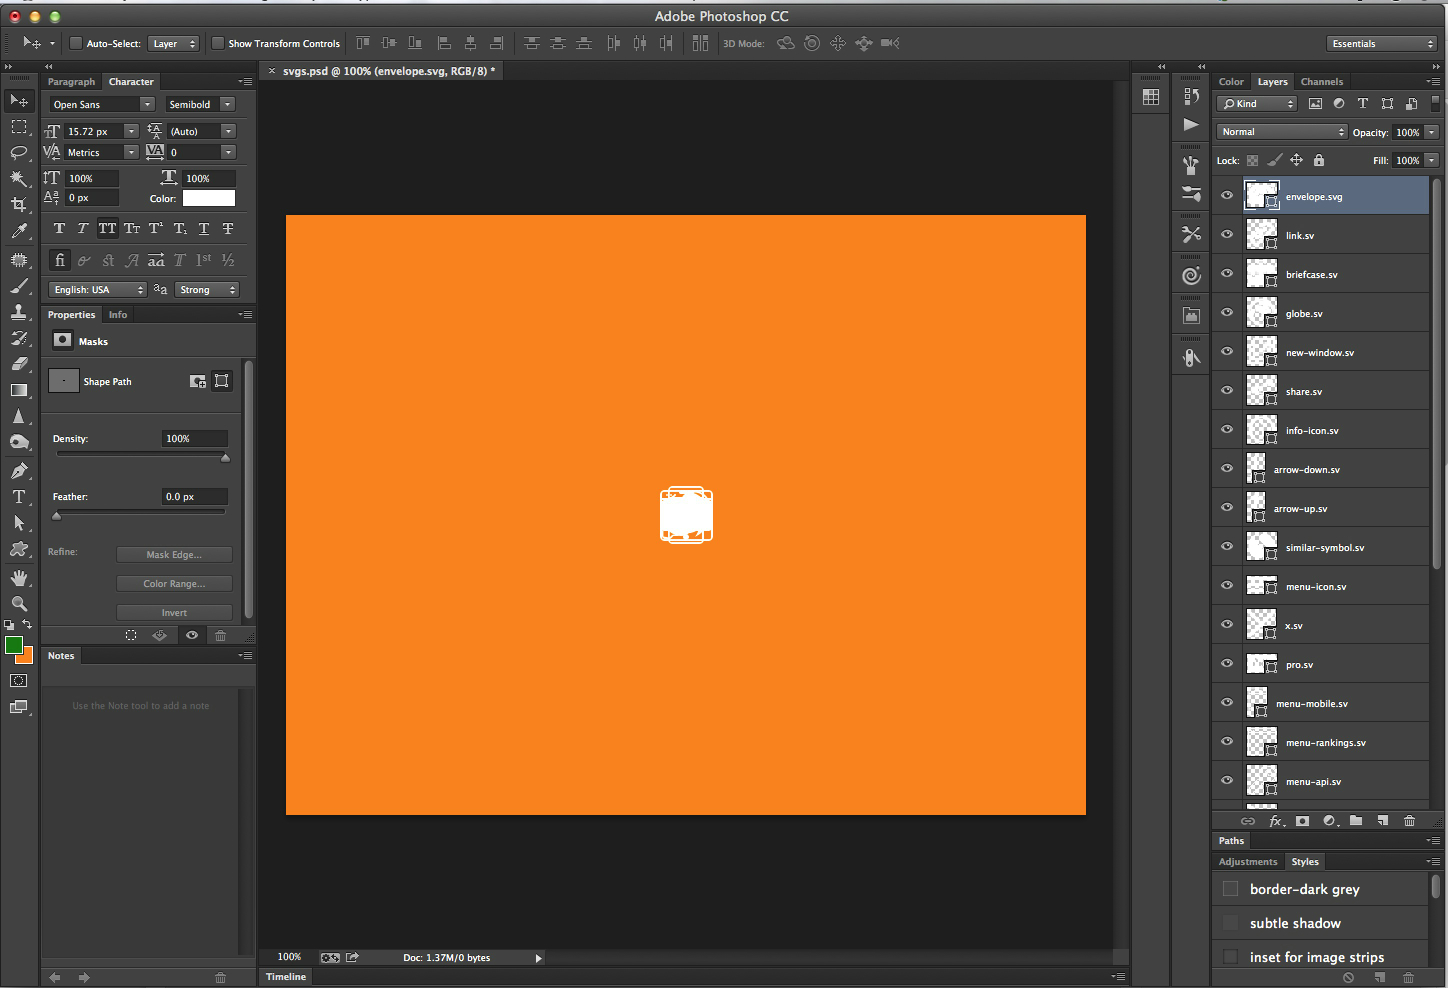

I recommend putting this PSD in a separate folder inside the main project folder (i.e [projectname]/svgs/svgs.psd). The script will later export the SVGs to this folder, so you’ll want to get something like this at the end:


In the SVG PSD, make sure of the following:
- Name the layers properly (with names that you’d like to export them as), and make sure you have “.svg” at the end.
For renaming multiple layers and adding the “.svg” ending I used a $10 plugin called Renamy.
I made a keyboard shortcut for it. So to rename I chose the layers I wanted, entered the keyboard shortcut (CMD+Alt+R in my case), and then typed *.svg and pressed Enter. There is also a free batch layer renaming tool by captain awesome that came out recently. It really looks awesome but I didn’t try it yet. - Make sure each vector shape you have is a closed vector.
- Make sure all shapes in the icon are merged.
- All the points of that shape are selected: Choose the vector selection tool (or click A), then choose the shape to see its vector points, then select all of the shapes points by clicking and dragging the tool, and then exit the selection tool. Its not as long as it seems, just a second.
Exporting
Now the only thing left is to export. I’ve been using the PSD to SVG script that David and I put together. You’re welcome to download it for free.
I made a shortcut for it cmd+alt+e.
Updating and maintaining the doc
You’re probably asking yourself: “Will the script re-export all my SVGs every time I have a new asset?”
Well, after I export all the icons I want, I make sure to remove the “g” at the end of the layer names (i.e “coolicon.svg” –> “coolicon.sv”). I do it by simply going to the top icon and editing its name and then clicking “tab” and “backspace” over and over until I’ve changed all the icon names I need. Once the layer name ending is “.sv” and not “.svg” the script wont recognise it next time I run it.
Creating the iconfont
Now it’s time to create the icon font. I’ve been using icomoon for that. Tried Fontastic and Fontello but icomoon is the only one with SVG editing options that become handy with some of the icons.
I save the iconfont each time in a shared “slices” folder. Then I make sure to notify the devs when I’ve updated the iconfont so they can update it in the code.
[sep]
That’s it. If you have any suggestions or questions about this workflow – feel free to ask here in the comments.

